A Comprehensive Guide to Building a Granny Flat in Queensland
Are you considering adding a granny flat to your property but feeling overwhelmed by the process? Building a granny flat can be an exciting venture, but it requires careful planning and execution. From understanding your property’s town planning overlays to the final stages of construction, here’s a comprehensive guide to navigating the granny flat building process seamlessly.
Understanding Your Property Town Planning Overlays
What Are Town Planning Overlays?
Before diving into the granny flat construction process, it’s crucial to understand the town planning overlays specific to your property. Town planning overlays are additional layers of planning controls that affect land use and development. These can include zoning regulations, building height restrictions, setback requirements, and environmental considerations.
Key Overlays to Consider
- Zoning Regulations: These dictate how land can be used. For example, some areas may be designated for residential use only, while others might allow mixed-use developments.
- Building Height Restrictions: This ensures that new buildings do not obstruct views or light for neighboring properties.
- Setback Requirements: These are the minimum distances your building must be set back from property boundaries, which helps maintain privacy and safety.
- Environmental Overlays: These relate to ecological or heritage significance and can require special considerations during the building process.
Understanding these overlays is essential to ensure your granny flat project complies with all necessary guidelines. For instance, overlays like Bushfire and Environmental will require additional consultants. Determining the Bushfire Attack Level (BAL) is critical as it guides necessary fire safety measures during construction. This assessment is typically conducted by an external Bushfire Consultant.
Initial Onsite Consultation and Quote
Scheduling Your Consultation
Once you have a clear understanding of the town planning overlays, the next step is to schedule an initial onsite consultation with one of our reputable granny flat experts. During this consultation, a professional will assess your property, discuss your vision, and provide valuable insights into the feasibility of your project.
What to Expect During the Consultation
This consultation serves multiple purposes:
- Assessment of Property: Experts will evaluate the site conditions, including slope, drainage, and access points.
- Discussion of Vision: Share your ideas and requirements for the granny flat. This is your chance to express what you want in terms of size, layout, and design.
- Addressing Concerns: Any potential challenges or considerations will be discussed, ensuring you have a realistic view of the project ahead.
- Establishing a Solid Foundation: This initial meeting is vital for laying the groundwork for the design phase and overall project timeline.
Design Phase
Collaborating with Professionals
With the insights gathered from the onsite consultation, it’s time to kick off the design phase. Collaborate with our project manager to create a customised design that meets your needs, preferences, and budget.
Customising Your Design
During the design phase, several factors will be taken into account:
- Size and Layout: Determine how many bedrooms and bathrooms you need, as well as common areas.
- Aesthetic Preferences: Choose a style that complements your main home and fits your personal taste—whether that’s contemporary, rustic, or traditional.
- Functional Requirements: Consider accessibility features if you plan to accommodate elderly family members.
Floor Plans and Finishes Selection
Once the basic layout is agreed upon, the focus will shift to floor plans and finishes. This includes:
- Choosing Materials: From flooring to cabinets, select materials that suit your lifestyle and budget.
- Sustainability Features: Incorporate eco-friendly options like solar panels or rainwater harvesting systems.
- Finalising the Design: After multiple rounds of feedback and revisions, you’ll arrive at a design that aligns perfectly with your vision.
Obtaining Building and Plumbing Approval
Navigating the Approval Process
Once the design is finalised, the next step is to obtain building and plumbing approval from the relevant authorities. This process involves submitting detailed plans and documentation for review to ensure compliance with building codes and regulations.
The Importance of Compliance
Compliance is critical for several reasons:
- Legal Requirements: Building without the necessary approvals can lead to fines or demolition orders.
- Safety Standards: Ensuring that your granny flat meets all safety codes protects you and future occupants.
- Increased Property Value: Proper approvals enhance the legitimacy and marketability of your property.
Our Role in the Approval Process
We will navigate the complex approval process on your behalf, maximizing completion speed and providing peace of mind. Our experienced team understands local regulations and will ensure all documentation is thorough and accurate, allowing you to focus on other aspects of your project.
Order Your Custom House from Our European Supplier
The Benefits of Prefabrication
One of the advantages of working with Timber Garden Cabins is our partnership with a trusted European supplier. Prefabricated buildings offer several benefits:
- Quality Assurance: European suppliers adhere to high standards of craftsmanship and materials.
- Design Variety: With a wide range of high-quality prefab granny flat designs, you can select a custom house that suits your aesthetic preferences and lifestyle needs.
- Sustainable Practices: Many suppliers focus on sustainable construction methods, reducing the environmental impact of your new build.
Selecting Your Design
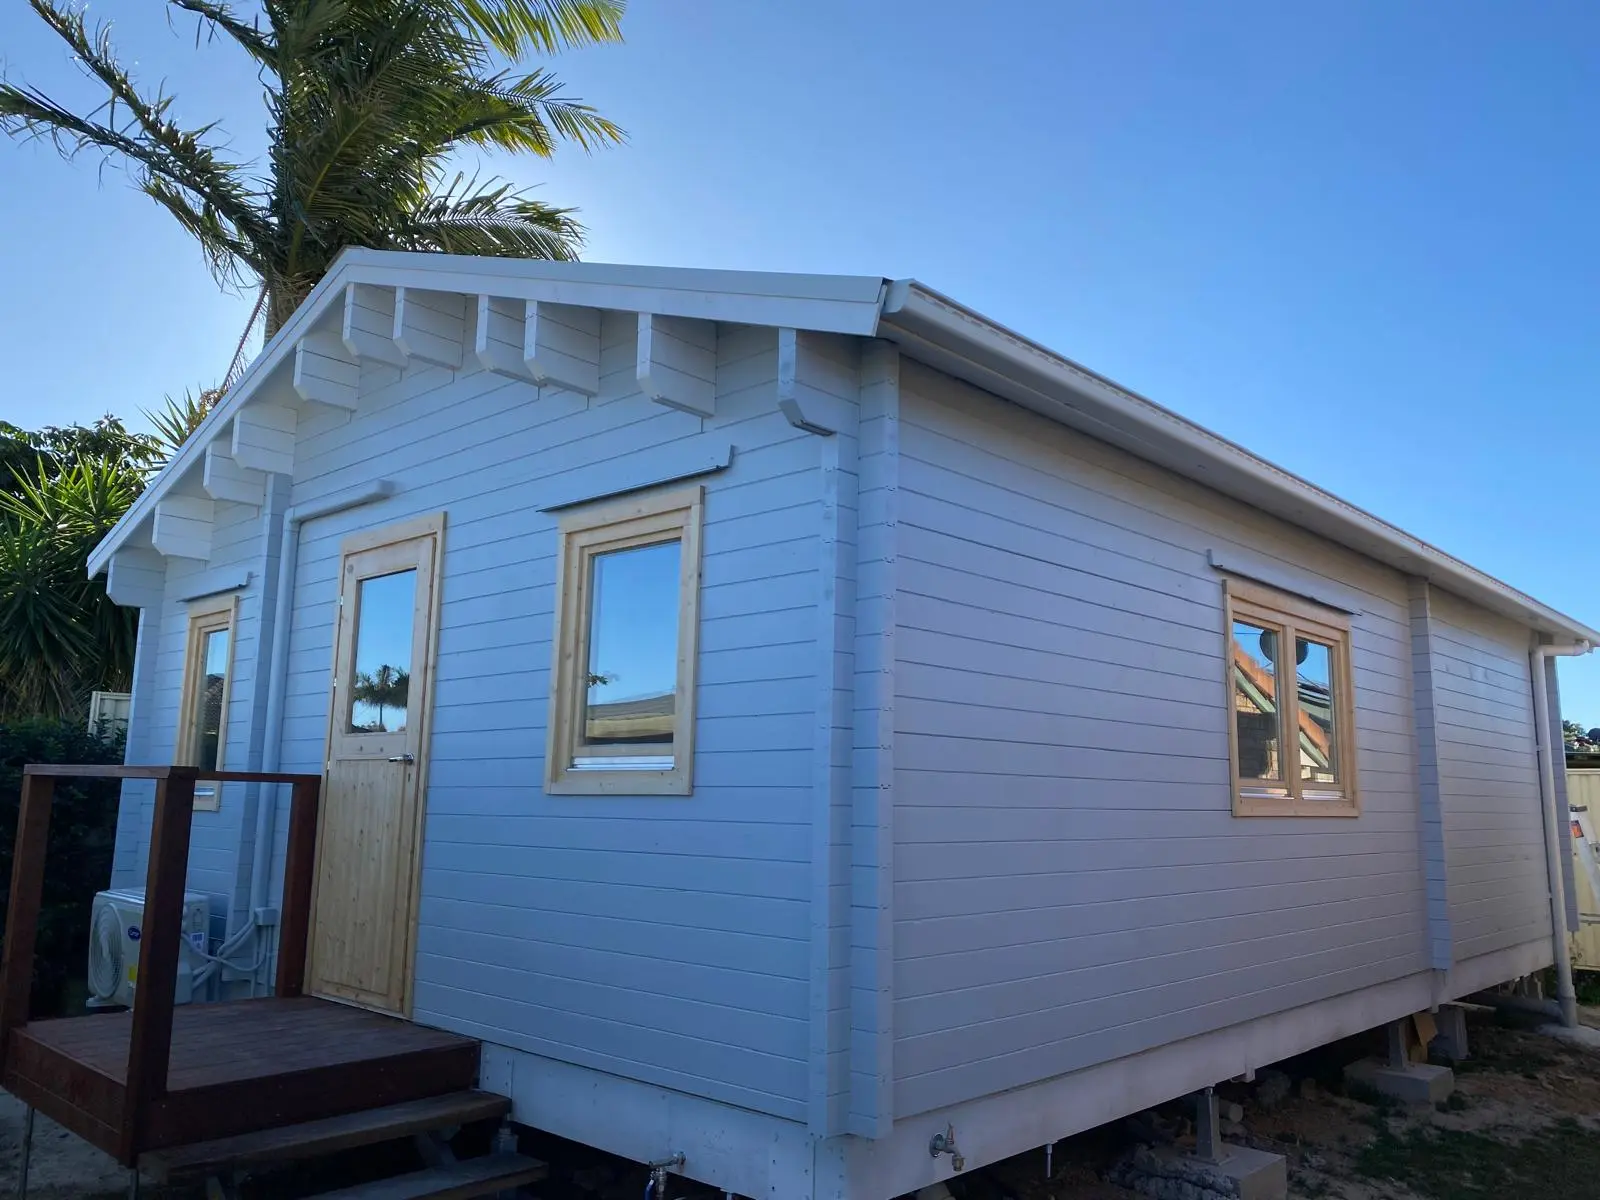
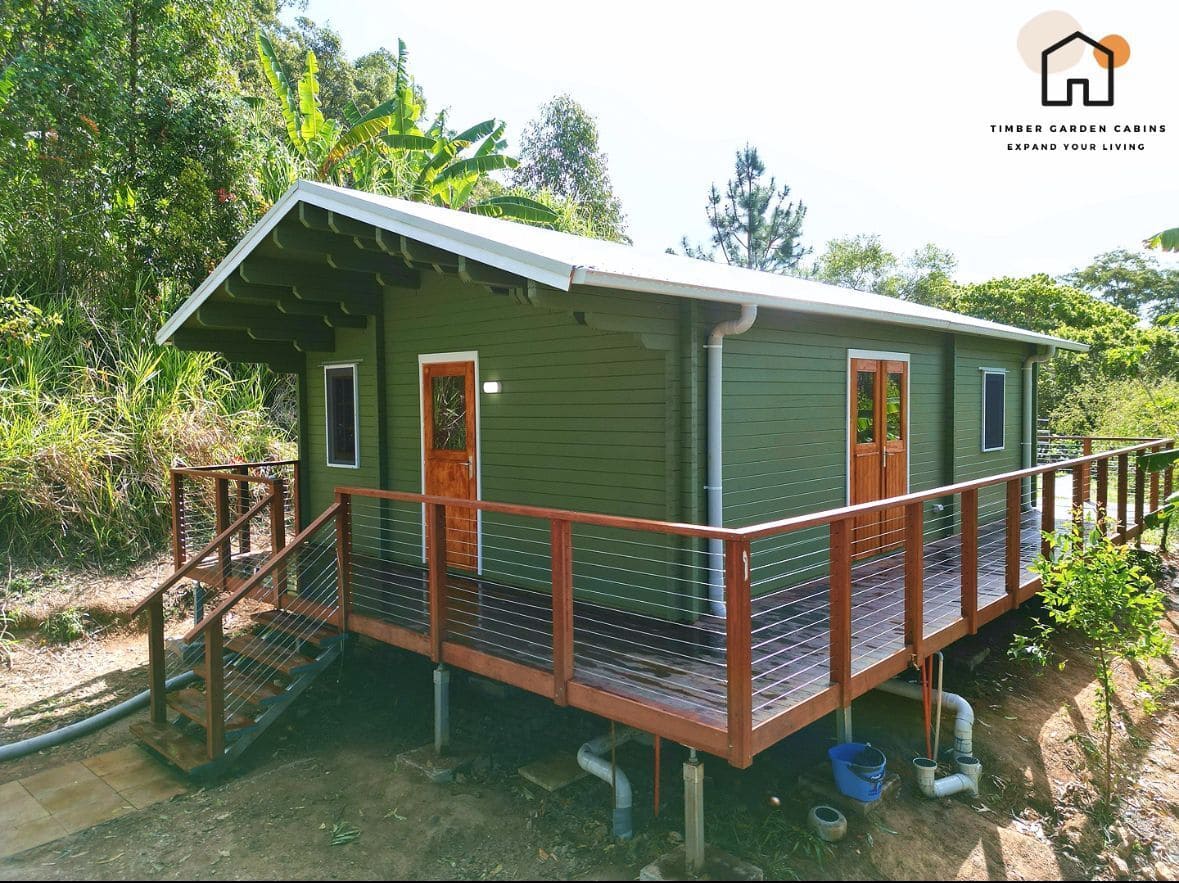
From traditional timber cottages to modern modular units, our European supplier offers premium options tailored for Queensland’s climate. Once you’ve selected your preferred design, our team will coordinate the ordering process to ensure timely delivery to your property.
Building Your Granny Flat
Commencing Construction
With all approvals obtained and materials ready, it’s time to commence construction on your granny flat. Our experienced builders will oversee every aspect of the construction process, from site preparation to the final finishing touches.
Managing the Construction Process
Throughout the build, you’ll receive regular updates and have the opportunity to inspect the progress firsthand. Key aspects of the construction process include:
- Site Preparation: Clearing, leveling, and preparing the land for building.
- Foundation Work: Laying a solid foundation that complies with all regulations.
- Framing and Roofing: Constructing the frame and roof to protect your new dwelling from the elements.
- Interior Finishes: Installing plumbing, electrical, and HVAC systems, followed by final touches like painting and flooring.
Quality Assurance
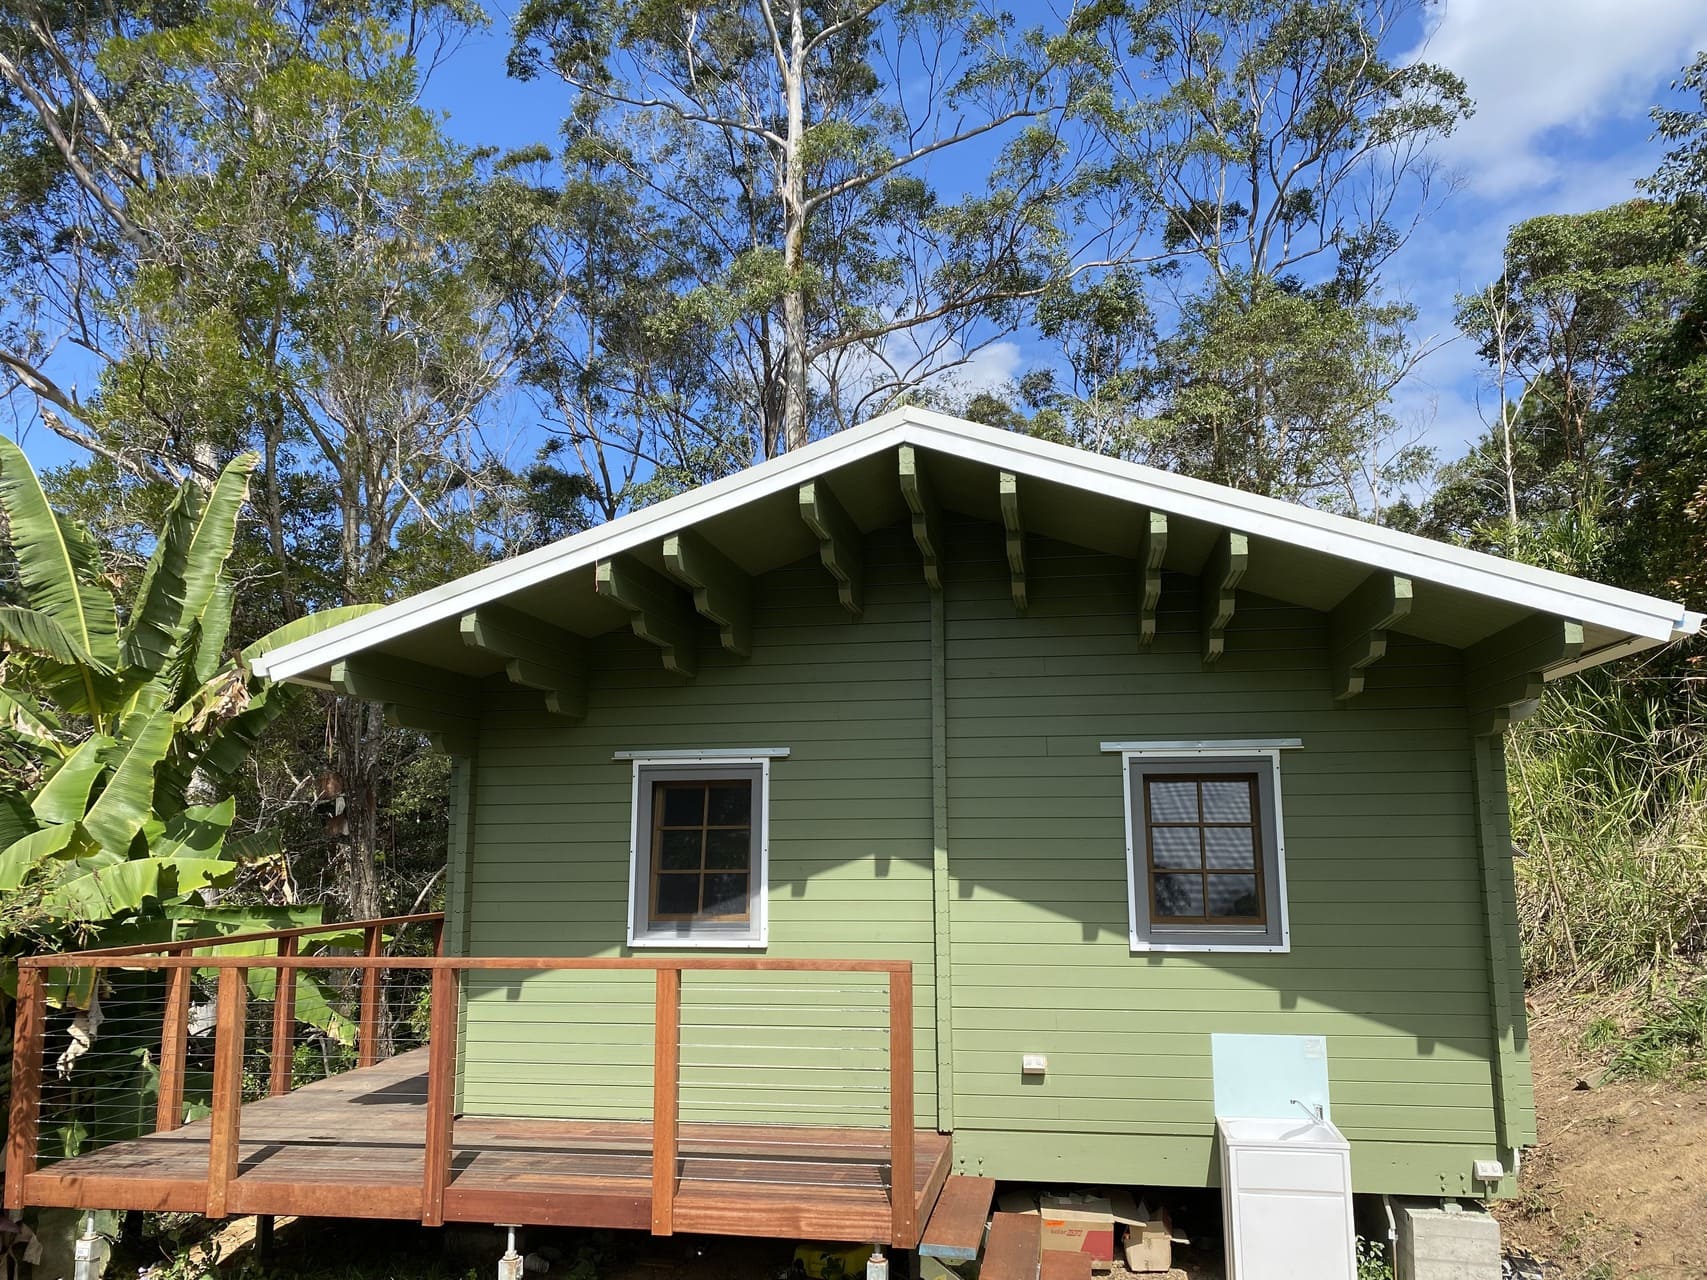
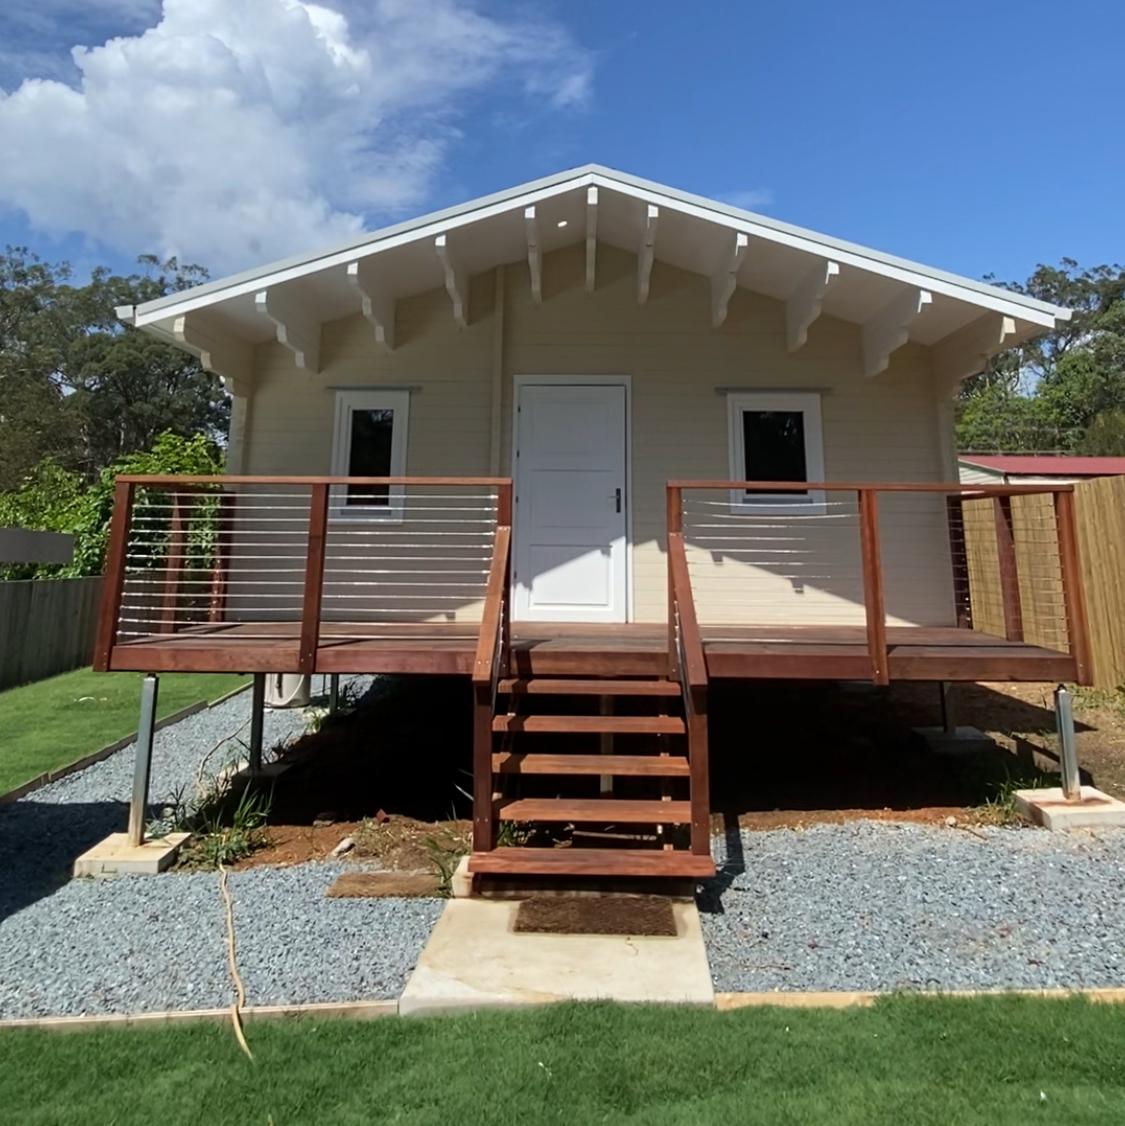
Our goal is to deliver a high-quality granny flat that exceeds your expectations and enhances your property value. We prioritize craftsmanship and attention to detail, ensuring that every aspect of your new dwelling meets our high standards.
Post-Construction Considerations
Final Inspections and Approvals
After construction, a final inspection will be conducted to ensure everything complies with local building codes and regulations. This step is essential for obtaining a certificate of occupancy, allowing you to legally inhabit the granny flat.
Landscaping and Outdoor Spaces
Once the building is complete, consider how you want to landscape around your new granny flat. This could involve:
- Gardening: Planting trees, shrubs, and flowers that enhance the aesthetic appeal.
- Outdoor Living Spaces: Creating patios or decks for relaxation and entertainment.
- Fencing: Adding privacy measures to separate the granny flat from the main house.
Ongoing Maintenance
Like any property, your granny flat will require regular maintenance. Budget for:
- Routine Inspections: Check plumbing, roofing, and electrical systems regularly.
- Landscaping Upkeep: Keep outdoor areas tidy and well-maintained.
- Insurance Considerations: Ensure your insurance covers the new dwelling adequately.
Conclusion
Navigating the granny flat building process involves several key stages, from initial consultation to final construction. By understanding your property’s town planning overlays, collaborating closely with our experts, and leveraging prefab solutions from our European supplier, you can streamline the process and achieve your granny flat goals with confidence.
At Timber Garden Cabins, we’re committed to making your granny flat dream a reality. Contact us today to learn more about our services and start your journey toward a stylish and functional granny flat.